Hanwha (Samsung) Cameras
Author(s) | |
|---|---|
Date |
|
Status | WORK IN PROGRESS |
CCTV Basics
This page will outline the basic overview of the Hanwha Vision camera line.
Table of Contents
Model Types
The Hanwha Vision line of cameras, made by Samsung, has several types of camera models. This module will focus on some of the basic characteristics but may not be all-inclusive to the different types of cameras listed:
Fisheye
Thermal
Multisensor
Body Worn
Mini dome
PTZ
Bullet
These cameras are exclusively IP cameras. Samsung does not make analog equipment.
Licensing
By nature, cameras themselves are not licensed, rather the recording device that communicates with the camera has a license that allows the stream to be recorded and viewed. In the case of American Dynamics, if the customer is using a Video Edge recorder, the Illustra camera licenses are free. If any other type of recorder is used then a license will need to be purchased through that manufacturer. The same principle will apply to most manufacturers.
Features
2 Megapixel (1920 x 1080) resolution
Built-in 4mm fixed lens
30fps@ all resolutions (H.264)
H.264, MJPEG codec supported, Multiple streaming
Day & Night (ICR), WDR (120dB)
Tampering, Motion detection
Micro SD/SDHC memory slot (Max. 32GB), PoE
Hallway view, WiseStream II support
IR viewable length 20m
White camera body
Genetec Stratocast compatible
Unboxing
When unboxing any product, including this one, it is critical that all documents and “extra” parts are retained. Usually the parts that are included in the box serve a purpose and should always be installed into the device whether they will be utilized or not. Remember that they support different features on the camera and even if those features don’t get used on the day of installation, they will likely be used in the future.
Pro tip: If there are multiple cameras being installed, utilize one of the empty boxes to keep any and all extra parts and manuals or other paperwork.
Beginning your installation
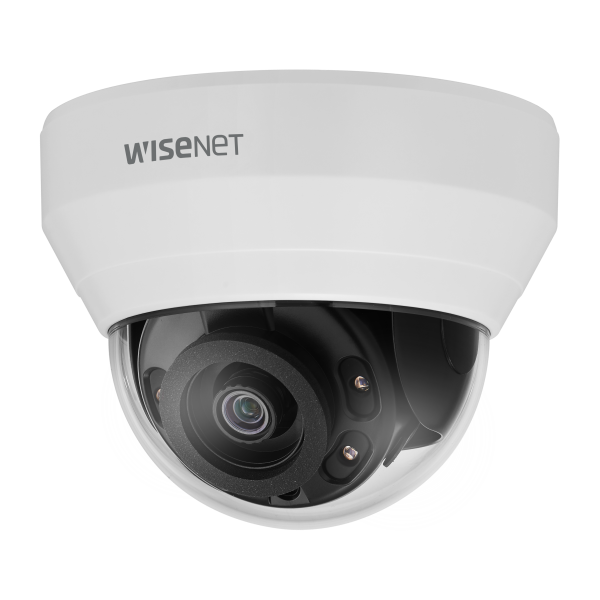
Please be aware that this is an example of an Hanwha mini dome install. Other makes and models will vary.
Once the product has been unboxed and any loose parts have been installed or accounted for in a designated box for spare parts it is time to install the camera. Use the following guide to help you prepare for the installation but be aware that each situation is unique and may require some adjustment:
Installation Tools:
Phillips head screwdriver
T-20 Security bit (included in the camera kit)
Drill
Electrician scissors (snips)
Dry wall knife
Installing the camera onto a surface with recessed ceiling
Hold the guide pattern sticker up to the ceiling and cut out a 125mm (4.921in) hole.
Use the T20 security key to remove the three screws on the dome cover.
Place the camera power cables through the hole in the ceiling, the metal cover and trim plate.
Connect the ethernet cable to the camera and align the two screws on the metal cover with the two holes on the camera and use a screw to securely attach the metal cover to the camera.
Ensure that the trim plate is positioned correctly around the camera.
Push the camera cable back into the hole in the ceiling and hold the camera up to the hole in the ceiling.
Use your drill with a Philips tip to turn both captive screws on the camera clockwise until the locking arms sit securely to the ceiling.
Adjust the camera lens position as needed.
Secure dome cover using the T-20 key.
Installing the camera onto a wall or ceiling
Use the T20 security key to remove the three screws on the dome cover.
Use a screwdriver to remove the safety lanyard screw that is connecting the dome cover to the camera. Note: The dome cover is now completely disconnected from the camera.
Insert all cables through one of the waterproof rubbers:
a) if you are using the three-hole waterproof rubber then pierce three holes as per the three circles on the rubber, insert the cable through the three rubber holes and then terminate the cable OR
a) if you are using the one-hole waterproof rubber then pull the rubber pin to make the cable hole, insert the terminated cable into the insert tool and then pull the insert tool through the hole.
Hold the guide pattern sticker up to the surface and drill four 6mm (15/64) holes and if you are not using the cable side entry hole on the bottom case then cut out a cable entry hole on the surface as per the guide pattern. Note: If you are not using the cable side entry hole then insert the cable cover.
Use a hammer to insert the four screw anchors into the holes.
Hold the camera bottom case up to the surface and align the four 6mm holes on the surface with the four holes in the bottom case (remove the rubber inserts in the bottom case first).
Insert the four TP4, 32mm screws and securely attach the bottom case to the surface.
Pull the camera power cables through the cable hole on the surface or the side entry hole on the bottom case.
Hold the camera up to the bottom case and connect the cables to their respective ports on the camera.
Insert the camera into the bottom case and use a T20 security key to securely attach the camera to the bottom base with the three T20 screws.
Adjust the camera lens position as per step 9 in the Installing the camera into a recess ceiling procedure.
Screw the safety lanyard screw into the camera so that the dome cover is attached to the camera.
Hold the dome cover up to the camera and align the three screws in the dome cover with the three holes on the camera.
Use the T20 security key to securely attach the three screws to the camera.
manuals_l-series_190920_en.pdfdatasheet_lnd-6022r_191024_1.pdf